
In the intricate dance of fire safety within buildings, standpipe systems serve are ready to deliver life-saving water at a moment’s notice. However, for this system to function optimally, regular flow tests are a must. In this straightforward guide, we’ll break down the steps of conducting a flow test in the simplest terms, so you can keep your standpipe system in top-notch condition.
Step 1: Understanding the Why and When
First things first – why do we even need a flow test? Well, it’s like giving your standpipe system a check-up. We want to make sure it’s healthy and ready to perform when it matters most – during a fire. These flow tests are required to be done every five years, ensuring that the system is in tip-top shape.
Step 2: Getting Ready for the Test
Before the actual test, it’s important to consult with the authority in charge, often known as the “authority having jurisdiction.” This ensures that everyone is on the same page, and if testing at certain locations is tricky, they can help figure out the best spot.
Step 3: Figuring Out How Much Water We Need
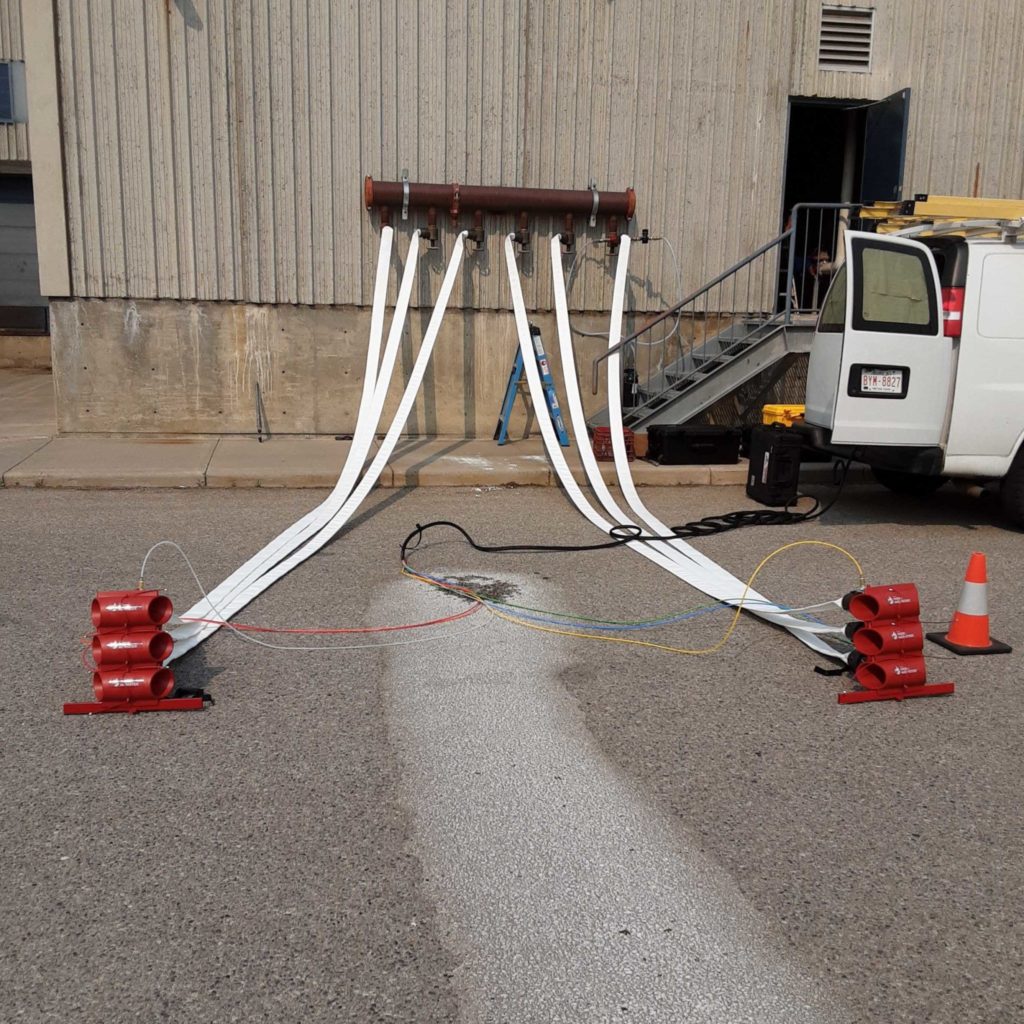
Now, let’s talk numbers. The standpipe system needs a certain amount of water to do its job effectively. For the first hose, it’s 500 gallons per minute (gpm), and for each additional hose, it’s 250 gpm. But here’s the thing – if it’s tough to get that full 250 gpm from each additional hose, it’s okay. You can take it from the easiest hose valve on that hose instead.
Step 4: Making Sure the Design Still Holds Up
Our standpipe system was designed with certain criteria in mind. During the flow test, we want to make sure it still meets those criteria. If there’s any uncertainty about what the system can handle, the authority having jurisdiction steps in and figures out what’s needed.
Step 5: Talking Shop Before the Test
Before you dive into the actual test, have a chat with the authority having jurisdiction about how you’re going to do it. Discuss the methods and criteria so everyone is on the same page, and the test runs smoothly.
Step 6: Checking the Valves and Other Gear
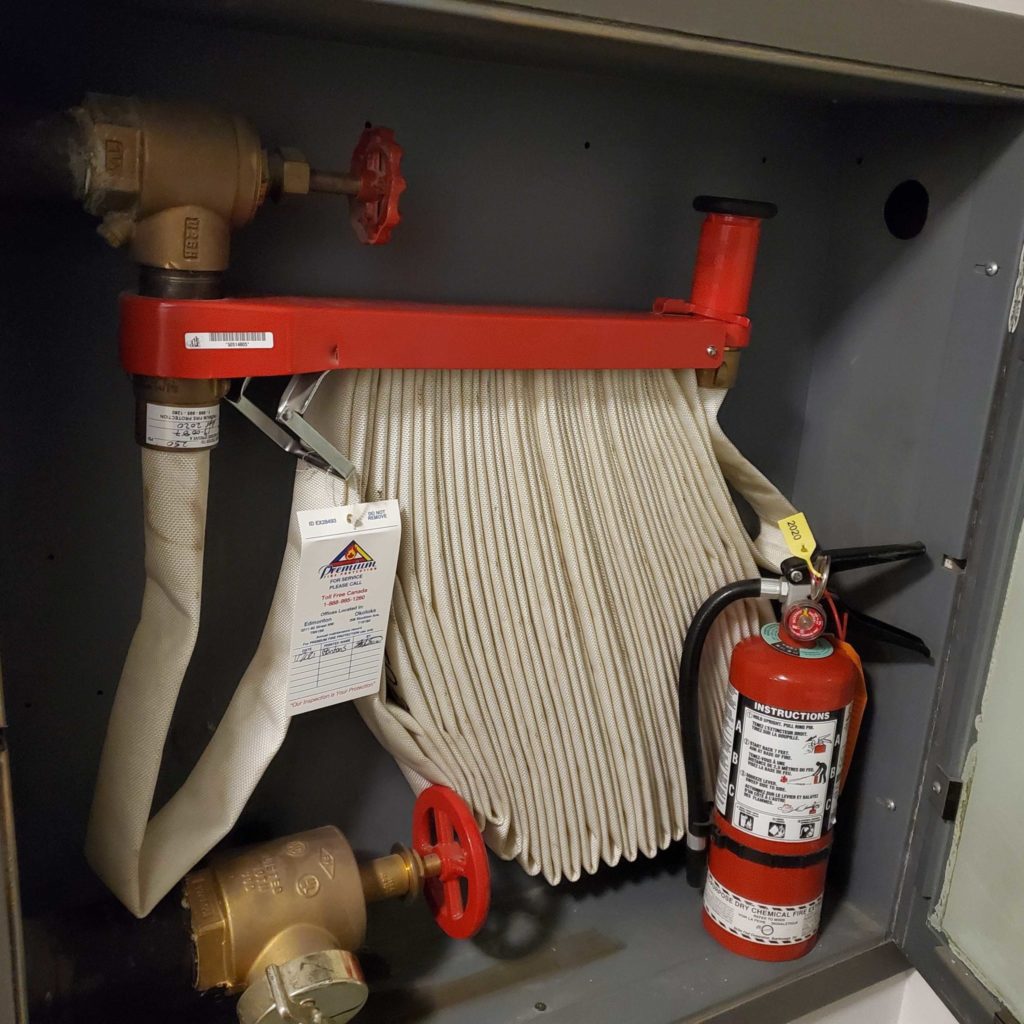
Valves are like the traffic controllers of the standpipe system. Before and after the flow test, it’s essential to inspect, test, and maintain them. Make sure they’re working as they should, along with other components like sprinkler connections and hose stations.
Step 7: Drain Check for a Healthy System
To keep the system healthy, standpipe systems with automatic water supply need a main drain test. This checks if the water supply is working as it should. It’s done at the lowest point in each hose or the main drain connection where the water supply enters the building.
Step 8: Watching the Pressure
During the main drain test, keep an eye on the pressure. Pressure gauges are crucial for this, and they need to be maintained according to the rules to ensure accurate readings.
And there you have it – a simple guide to conducting flow tests for your standpipe system. By following these steps and staying in tune with the authority having jurisdiction, you’re not just testing water flow; you’re ensuring the safety of everyone in your building. Keep those hoses ready and your standpipe system flowing smoothly!

